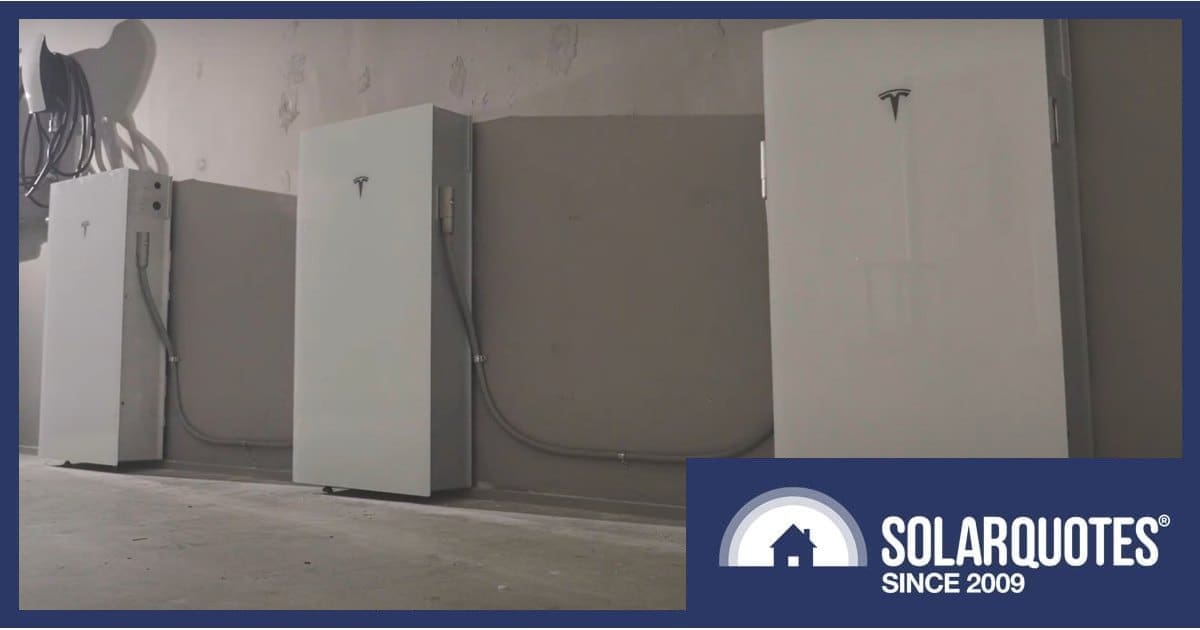
Tesla recently released a video demonstrating installation of expansion units for its Powerwall 3 battery – see it here.
Like the Powerwall 3, an expansion unit will have 13.5 kWh of usable storage capacity. Unlike the PW3, it doesn’t include (or need) an inverter and some of the other electronics – it’s just additional storage. The height and width are the same, but the depth is shallower – 25 mm less.
Here’s the installation video (of course, all this needs to be done by a suitably qualified installer):
Where expansion units are mounted next to PW3, there must be a minimum distance of 1 metre apart. They can also be ground-mounted in a stacked configuration behind a Powerwall 3 using a stacking expansion kit. The wall bracket needs to be attached to at least two suitable structural members using at least four fasteners.
For ease of installation and to minimize the risk of damage, use of a Powerwall dolly is needed. It’s reportedly an impressive looking bit of equipment, but pricey for the installer – around $3,000.
The expansion units don’t have terminals within the enclosure. They are daisy chained into the circuit for Powerwall 3 with a custom wiring harness that will be available in various lengths. This is plugged into a port that exists on both the left and right hand side of the units.
The harness cable uses an extruded TPE jacket. It is moisture, flame and UV resistant, and has a temperature rating of -40°C to 105°C. The harness plug appears to be a delicate bit of kit. The company advises that even if one is dropped, it should be disposed of and a new harness should be used.
Bridgeport US 61 71 straps must be used to strap Powerwall expansion harnesses evenly, with the number of harnesses to be used as required by whatever standards/codes apply. A strap needs to be placed no further than 480 mm distance from the connector on each end with all Powerwall 3 expansion units connected.
After everything is in place and tightened to specified torque values, it’s time to turn on the breaker and the PW3 enable switch. From there, the standard commissioning procedure is performed through the “leader” Powerwall 3 on the devices page of the Tesla app. Once that is all done, tested and registered, the final step is to install the glass front covers.
Further information here: wall-mounting | stacking
When Will Powerwall 3 Expansion Units Be Available In Australia?
SQ attended a Tesla media and installer briefing in Sydney for the PW3 launch back in August (full report here – lots of questions answered), and the Tesla rep said they will be available in 2025.
How Much Can A System Be Built Out To?
Without the expansion units, it’s technically possible (but bear in mind DNSP limits – and that inverter capacity is configurable) to install up to 4 Powerwall 3 master units in parallel to provide up to 40kW of inverter capacity and 54kWh of usable storage. With the expansion units, as many as 3 (40.5 kWh in total) can be installed per PW3 for up to 54 kWh storage each.
What Will The Expansion Units Cost?
At the August briefing, Tesla said pricing for the expansion units would be available closer to launch and will be more affordable than a Powerwall 3. We’ve heard they’ll be around (USD?) $1,000 cheaper. As for PW3 itself, it costs approximately AUD $13,600 (retail) including the gateway unit, but not including installation.
You can find further information on PW3 specs and compare it with other residential energy storage solutions available in Australia on SQ’s home battery comparison table.
Does Powerwall 3 Make Sense For Me?
Many Australian solar owners have been excited about PW3. SolarQuotes founder Finn published an article cutting through the hype and detailing scenarios where the Powerwall 3 will shine – and when you should look elsewhere. You can also use SQ’s “add battery” calculator to get a pretty accurate idea of simple payback in your circumstances.


 RSS - Posts


Speak Your Mind